This simple DIY fall wreath made from dried leaves and orange slices is an inexpensive way to add some fall color and texture to your home.
Here’s a quick time-lapse video of the process
This post contains affiliate links, which means we make a small commission at no extra cost to you. See our full disclosure here.
The Materials
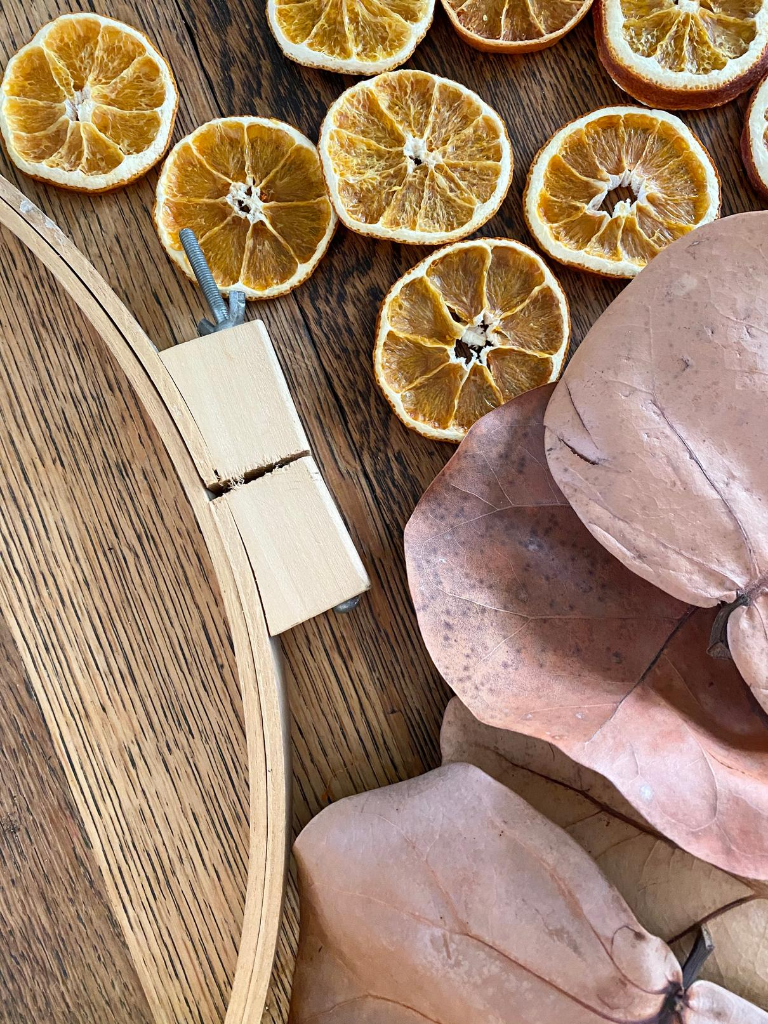
- an embroidery hoop
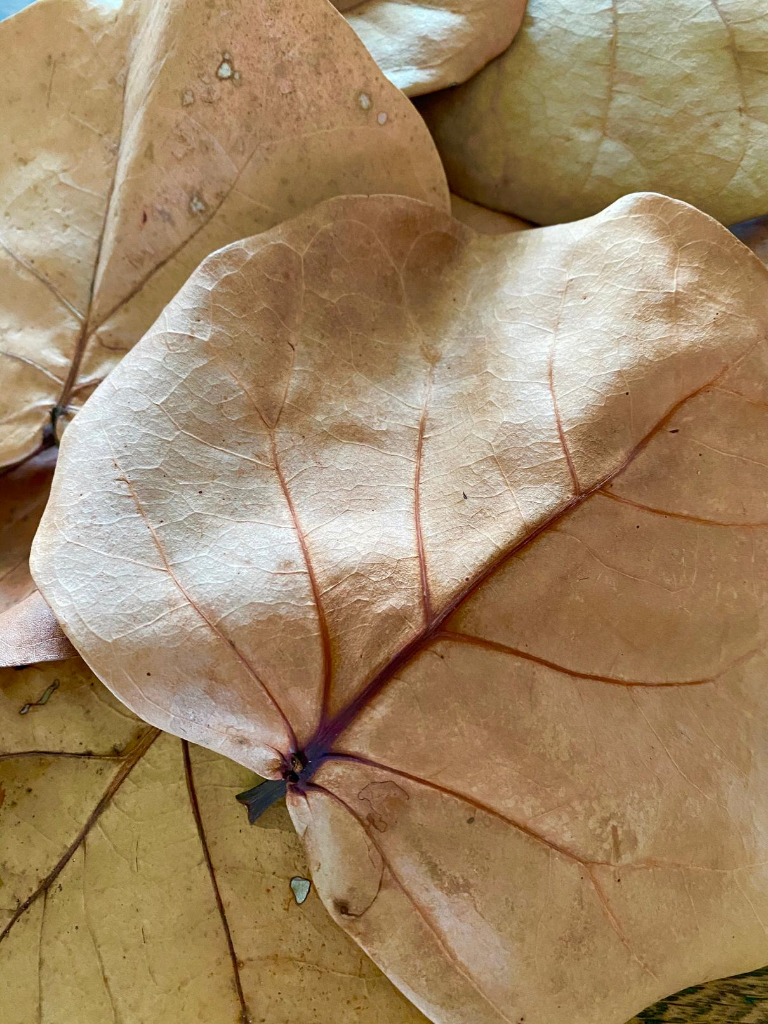
- dried sea grape leaves (fig or magnolia leaves would work well too)
- dried oranges slices (find the tutorial here)
- a hot glue gun
Adding dried orange slices to this fall wreath is totally optional. I like the way they add extra color and dimension to the dried sea grape leaves. Making the dried orange slices is a really simple process, but it does take some time. You can find my tutorial for these simple dried orange slices here.
I gathered my dried sea grape leaves at a local beach. Sea grape leaves are pretty thick, so they are not as likely to break as more delicate leaves would be. I filled a plastic grocery bag full of leaves in different sizes and shades of brown.
My mother-in-law picks up embroidery hoops for me when she finds them at yard sales or thrift stores, so I have a bunch. If you don’t have an embroidery hoop you could use a vine wreath or even a cardboard circle as the base for your wreath.
How to make a DIY fall wreath
You can watch my time-lapse video at the top of this post to see my process in fast motion. If you want to know all the details, continue reading.
Step 1
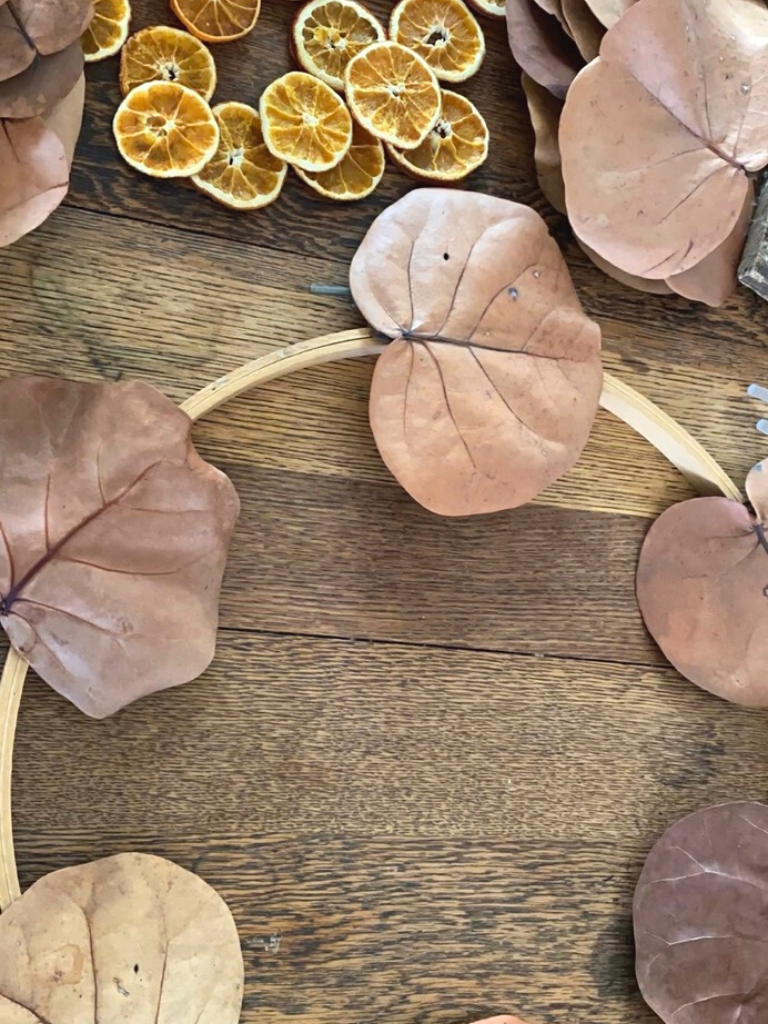
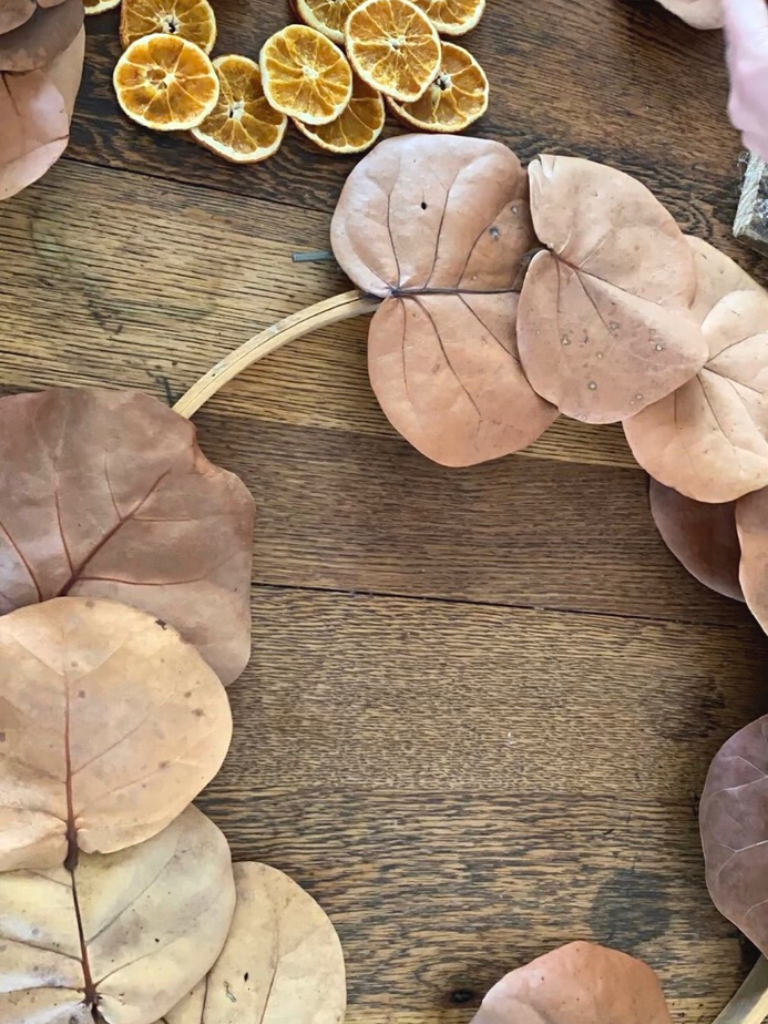
I started out by spacing the largest leaves around my embroidery hoop and hot gluing them in place. It looks best if you can just glue one side of your leaves in place. That way you can tuck each leaf underneath the leaf before as you move around your hoop in a clockwise motion. (Do as I say, not as I do. I didn’t realize that I should have done that until it was too late!)
Step 2
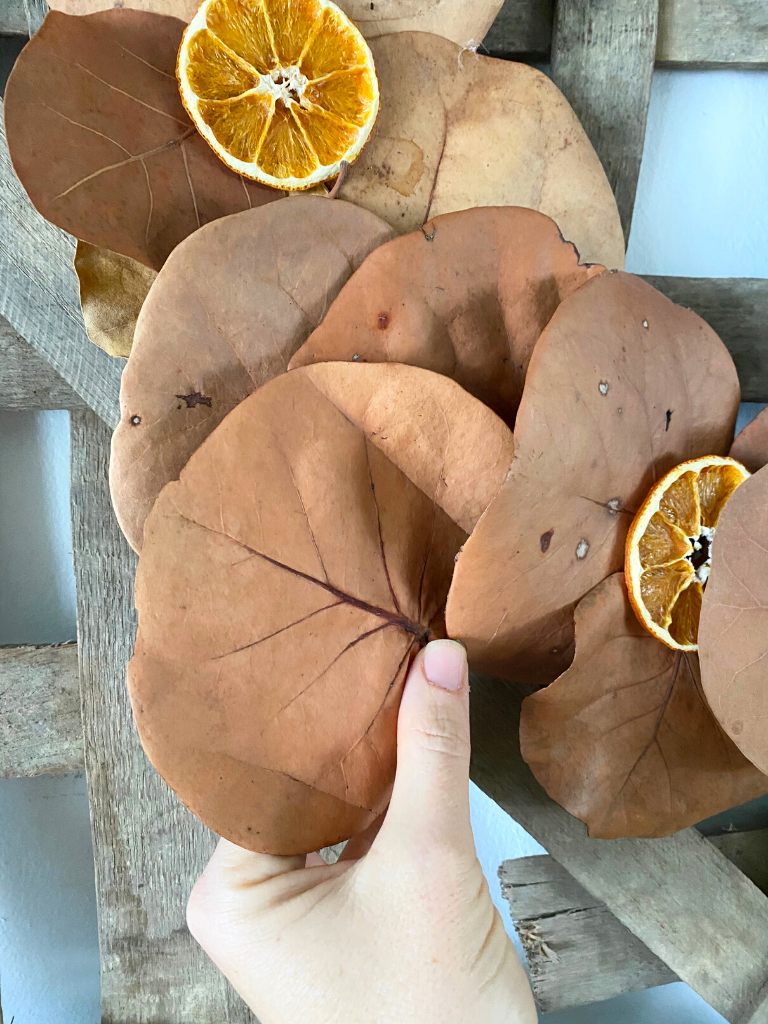
Next, you want to hot glue the remaining leaves in the spaces between the larger leaves you’ve already glued down. See how my smaller leaf is on top of my larger leaf below? If I had only glued down one side of my larger leaf, I could have tucked the smaller leaf neatly under it. I was able to fix this later by gluing a dried orange slice in this spot.
Step 3
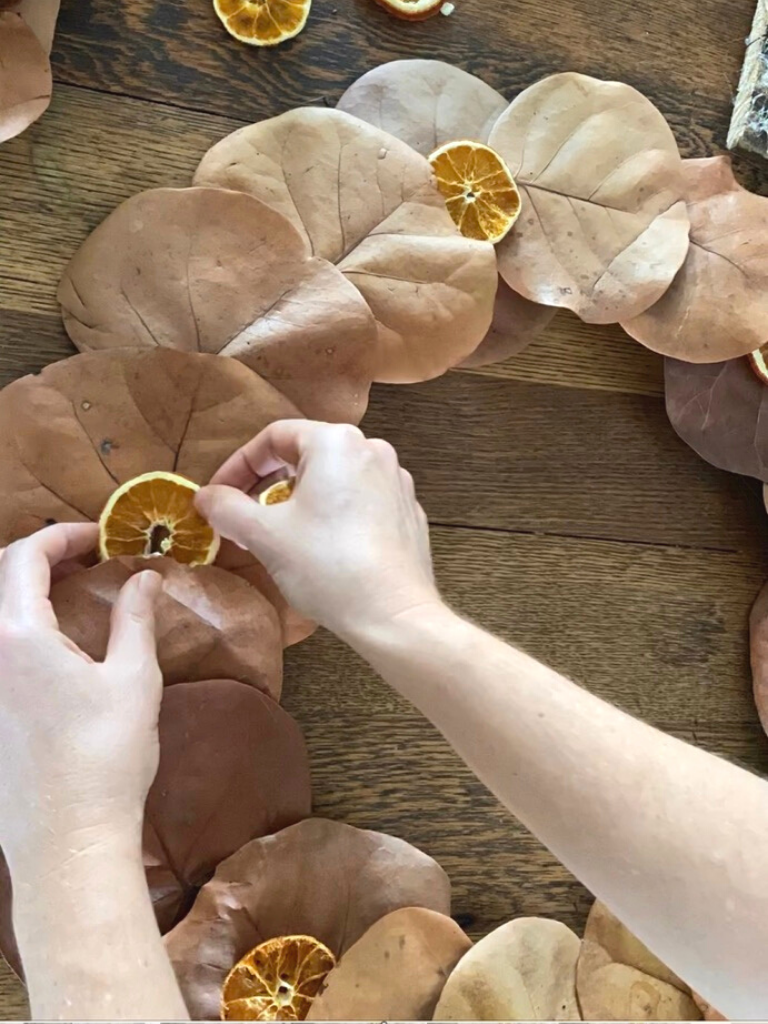
Hot glue the dried orange slices at intervals around your wreath. I tried to tuck mine under the leaves a little bit to make them look more naturally placed. You can use as many oranges slices as you’d like, or leave them out altogether. I like the vibrant color and texture they add to the wreath.
Step 4
At this point I hung my wreath up on the wall in my dining room. There were some areas that looked a little more bare than others. I tucked the smaller leaves that I had left into these spaces. I didn’t even hot glue them in place. They’ve stayed in place fine for the last couple of weeks.
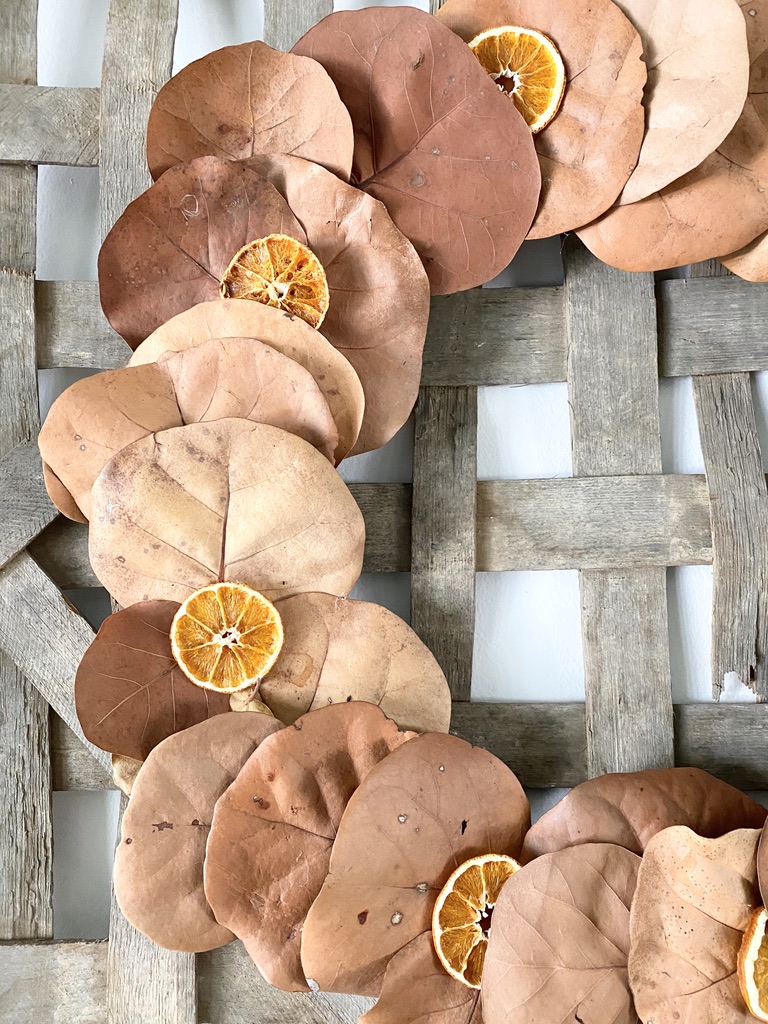
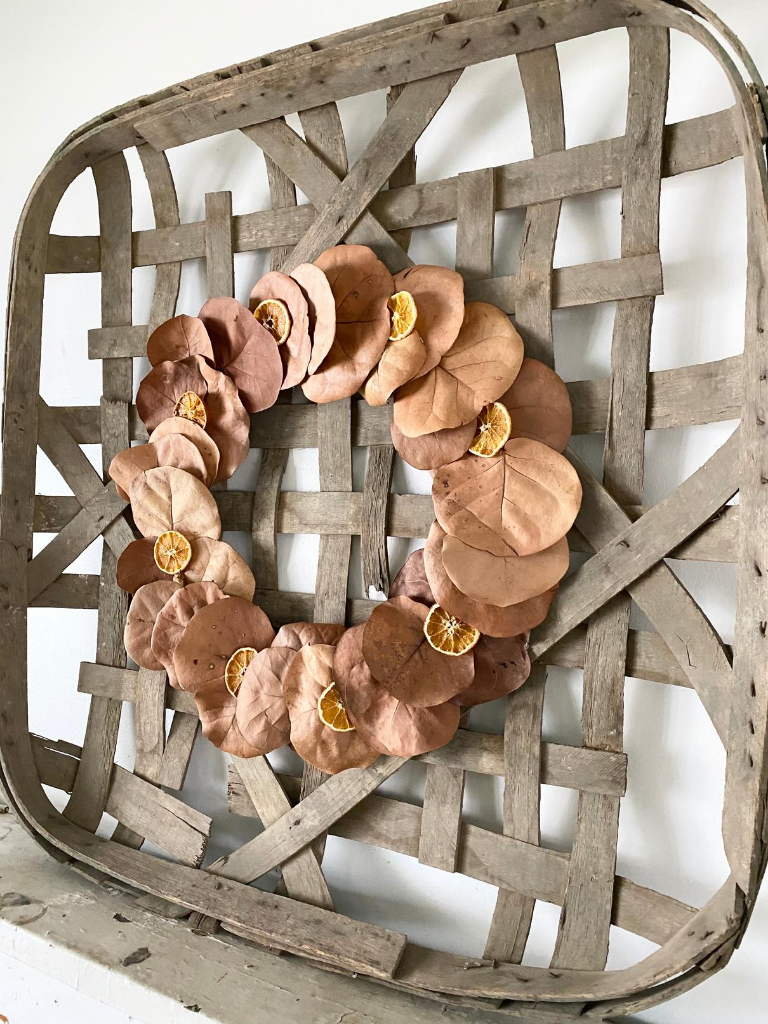
I think the whole process of making this wreath only took me about 15 minutes. I love the warm fall tones and texture of this wreath. It gives a natural, southern, coastal twist to my fall decor.
Adding your DIY fall wreath to your decor
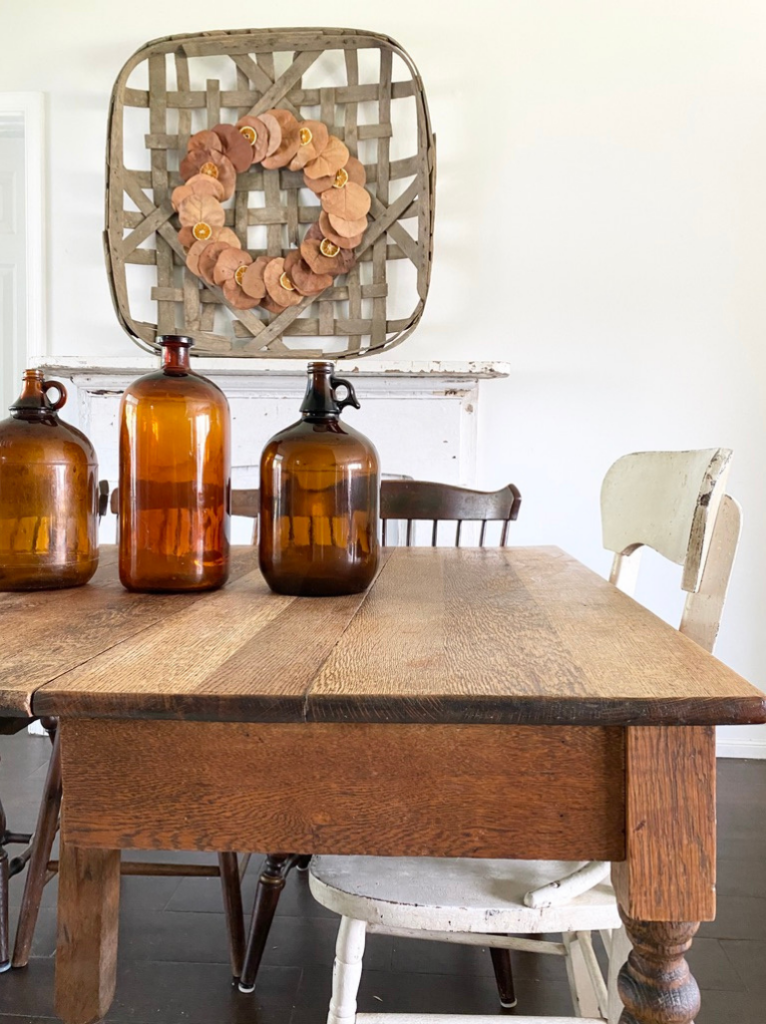
I love the extra size and dimension this tobacco basket adds behind my wreath. If you want to layer your wreath, but don’t have a tobacco basket, you could hang it on a salvaged window or chippy shutter. You could easily hang it on a kitchen window or front door as well. The best part is that this DIY wreath is so inexpensive and easy to make, you can make a few and add them to different places in your home.
If you like this you might also like
How to make dried orange slices
Vintage silver teapots as a centerpiece




 : @crystal_clearph
 Thanks


