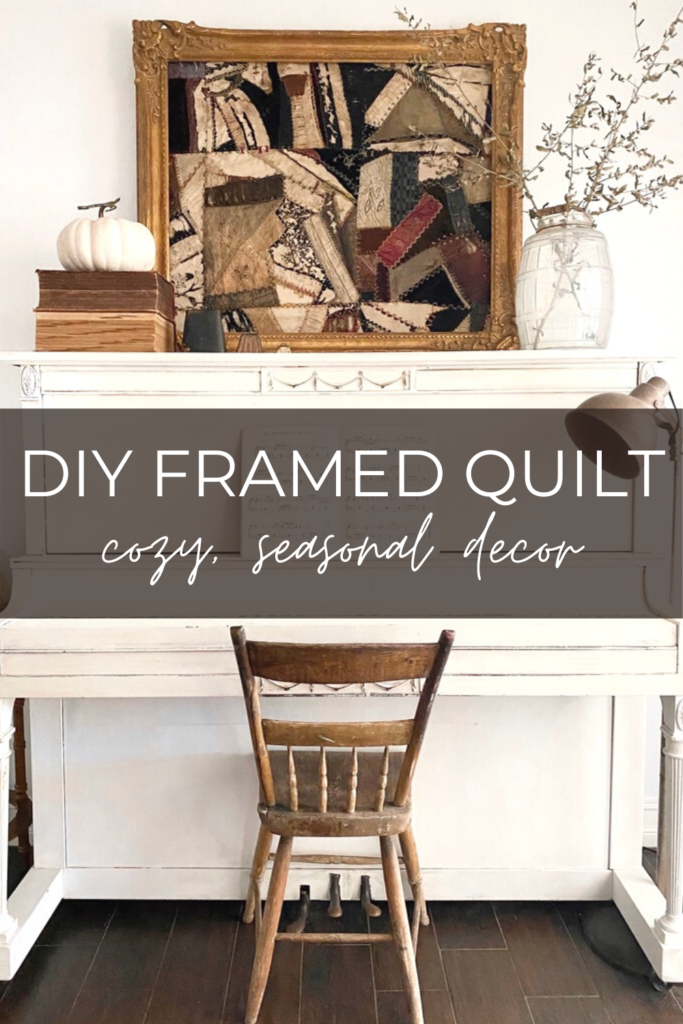
Easy DIY framed quilts add instant color and texture to seasonal decor. They’re a great way to fill a large space and make it more cozy.
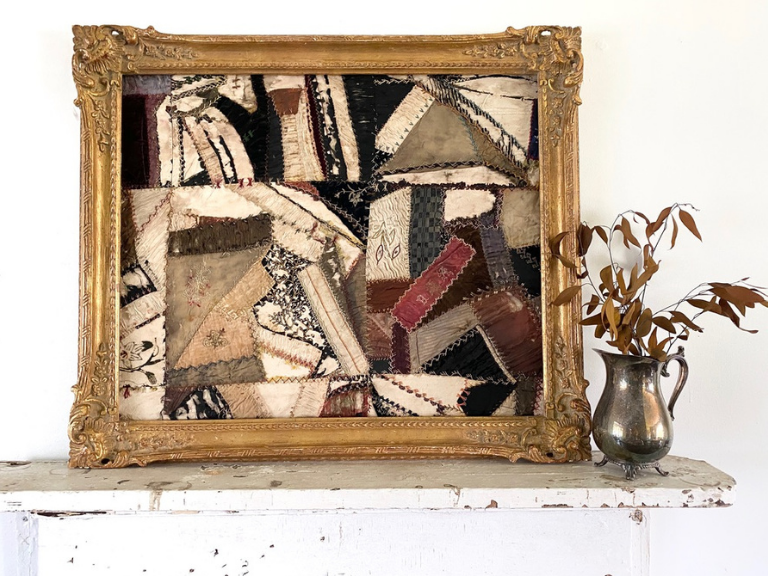
This easy DIY framed quilt is so simple to make. It’s such a unique statement piece for the holidays.
Seasonal Wall Decor
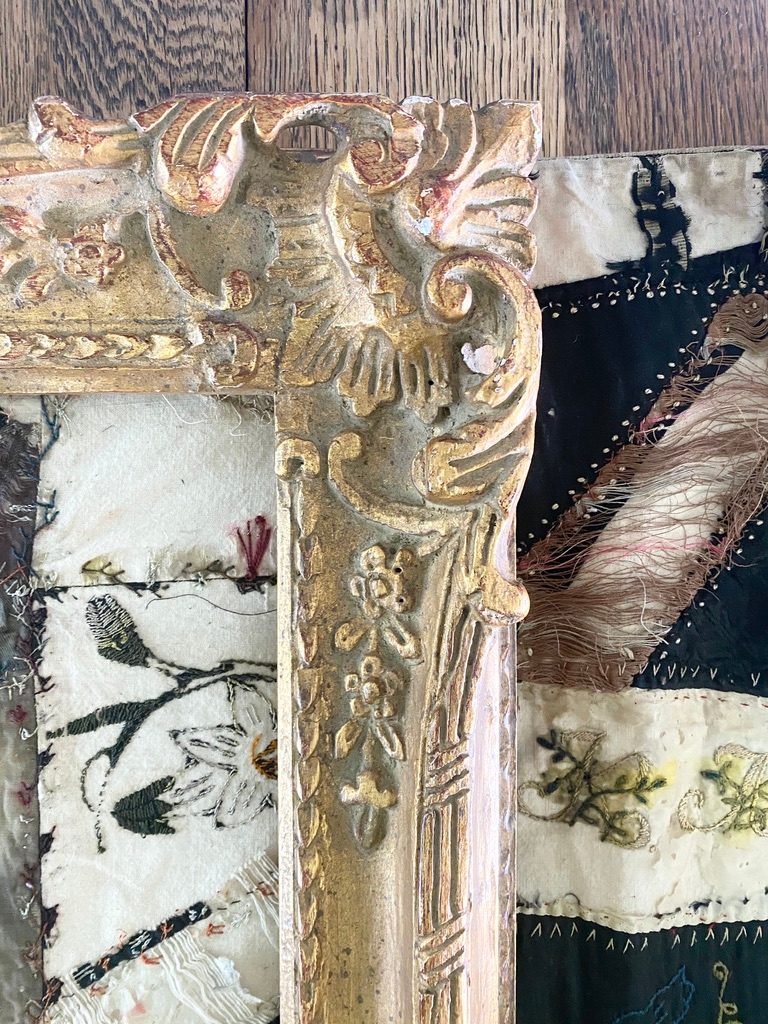
With each season, I find myself looking for a large piece of wall decor to fill the space above our piano. When it came time to start decorating for fall, this large picture frame I had been storing in the garage same to mind. I could have used the frame by itself, but I was looking for something that would add some color and warmth to our library. This turn of the century quilt I had recently bought from a friend seemed to be the perfect piece to fill the frame quickly and easily. This framed quilt ended up being a statement piece for the whole room. It would be easy to customize to any season or color scheme. Read on to see how I made it.
Materials Needed
This easy DIY framed quilt requires very few materials.
- a wooden picture frame
- a quilt or other textile at least as large as the picture frame
- fabric scissors
- an office stapler or heavy duty stapler
Choose a Vintage Textile
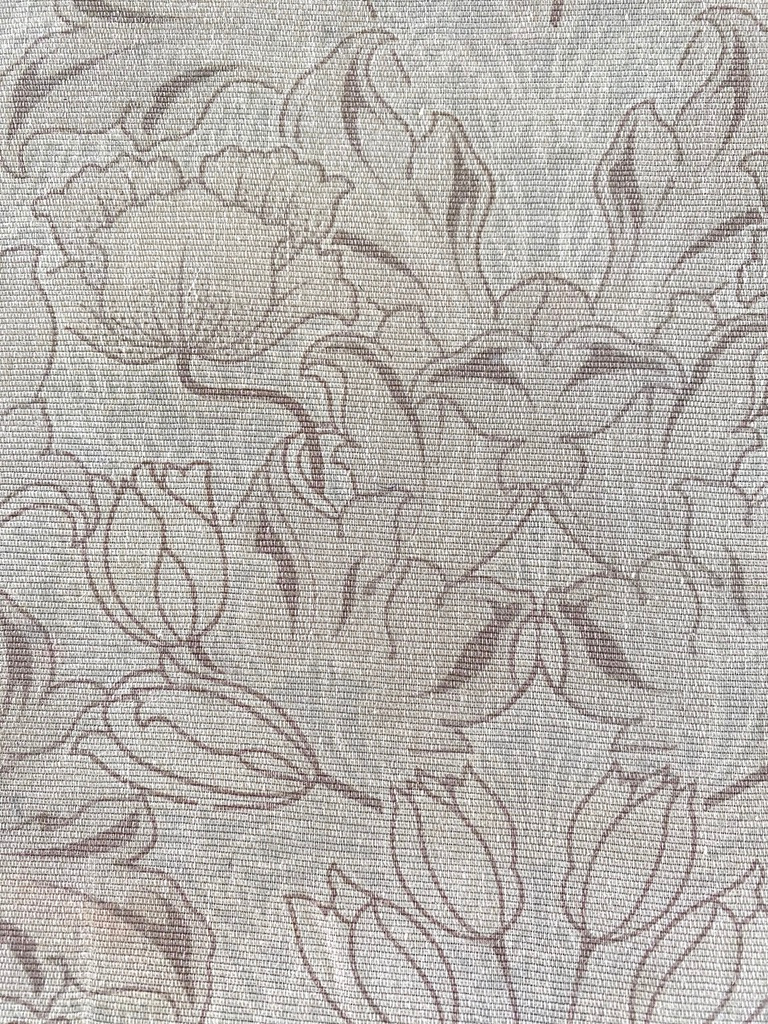
This turn of the century crazy quilt was in rough shape. The delicate fabrics, and elaborate hand stitching started to look worn out over the years. It was too delicate to use as bedding, but it was perfect for cutting up for projects! If you don’t have a quilt, any piece of material larger than your frame will work.
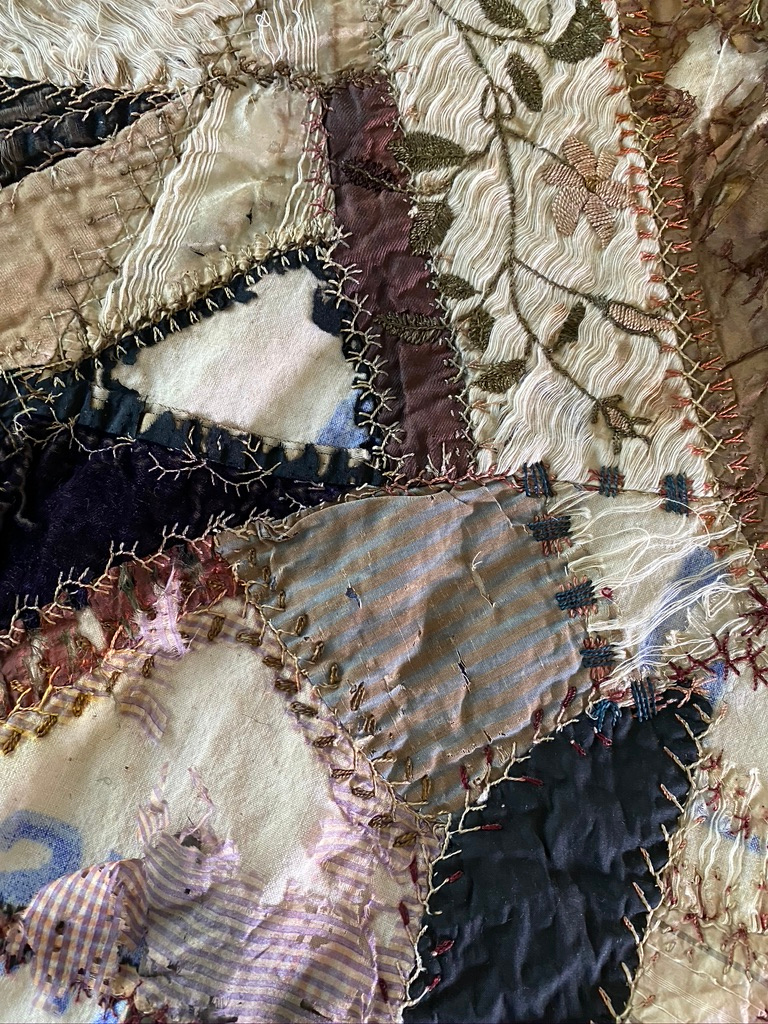
I love all of the intricate details on this quilt! Even the back of the quilt is beautiful!
Cut the quilt to size
The first step is to choose which part of the quilt you want to display in the frame. I chose a corner of the quilt that had the colors I wanted use in it. You could use the center of the quilt as well, but I wanted to save as much of the quilt as I could for some other projects I had in mind.
Place the picture frame over the area you want to frame and cut around the edges of the picture frame. If you choose to use the corner of the quilt, you will only have two sides to cut. Fabric scissors make this part really easy!
Attach the quilt to the frame
Place the picture frame right side down on a table or other hard surface. Place the quilt piece right side down on top of the back of the picture frame, lining up the edges to make sure everything is even.
I misplaced my heavy duty staple gun when I was working on this project, but I discovered that a regular office stapler works just as well. I was amazed at how well it worked!
Starting on one side of the picture frame, staple the quilt to the frame about every two inches or so. Make sure to hold the quilt taut so that it stays nice and even.
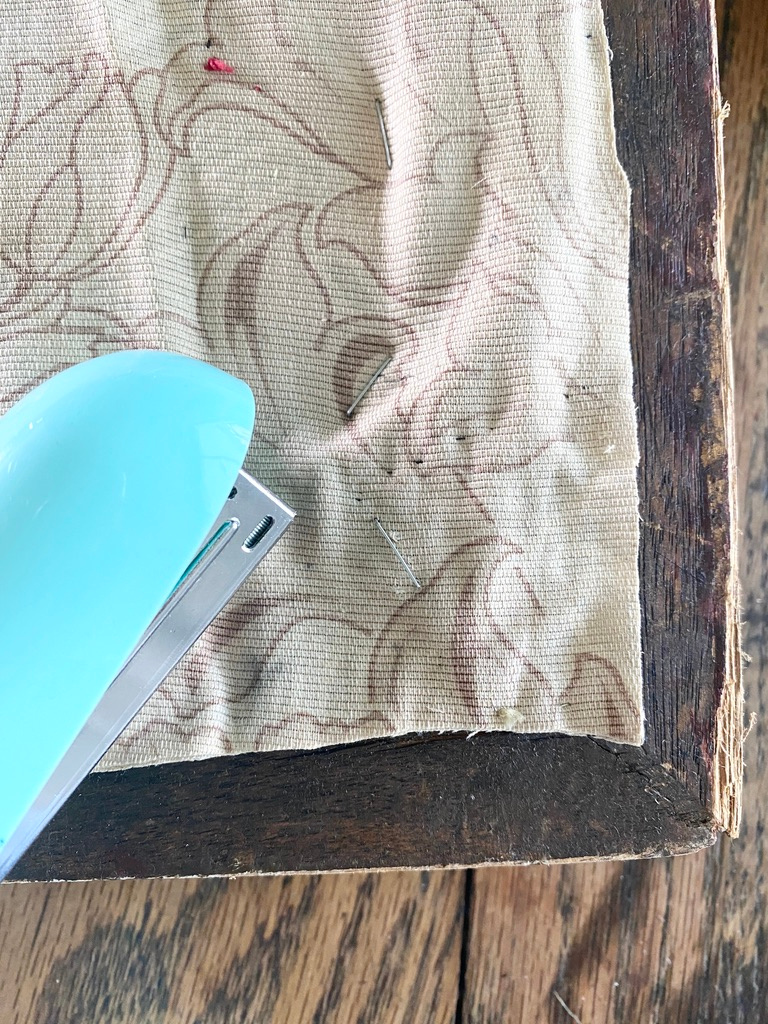
Next, move on to the opposite side. Make sure to pull the quilt tightly before you staple it so the material doesn’t get too loose. Then, staple the third side. When finished, move on to the final side. Remember to pull the quilt taut before stapling.
Trim the excess
When you’re finished stapling, some of your fabric may be sticking out around the edges of your frame. Use your fabric scissors to trim around the outside of the staples so that your quilt stays neatly behind the frame.
That’s all there is to it! Quick and easy projects are so gratifying, aren’t they?
Style your easy DIY framed quilt
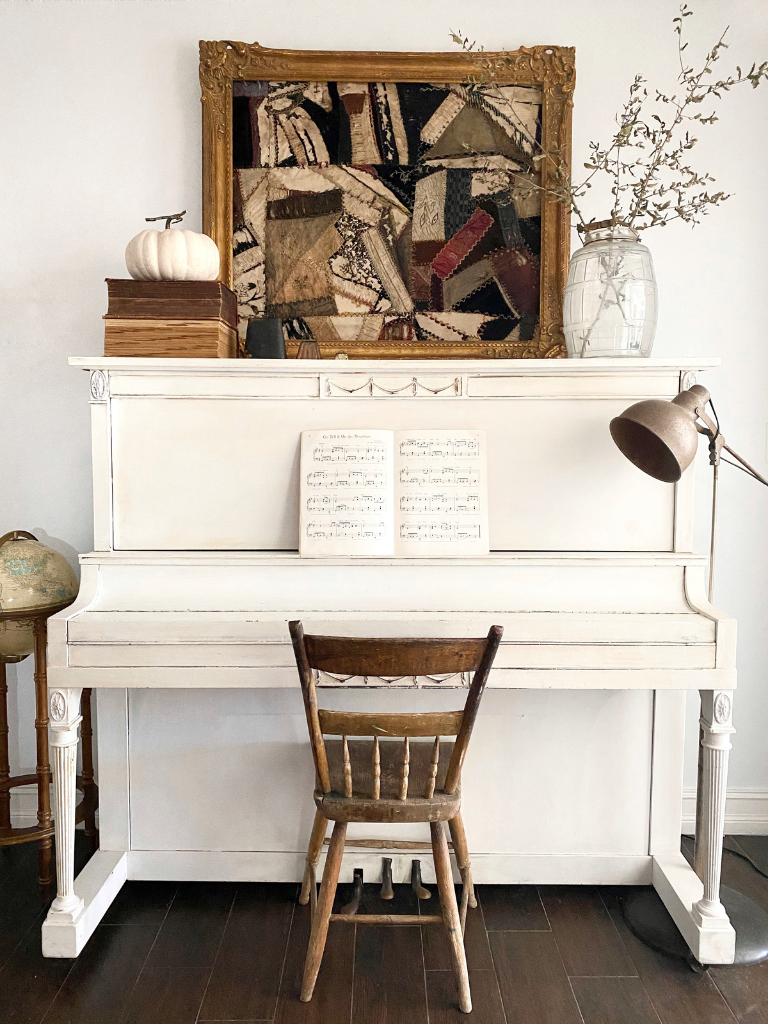
I already knew that I wanted my framed quilt to fill the space over our painted piano, but you could hang one anywhere. A large frame looks great over a mantel, sofa, or other piece of furniture. A smaller frame could be placed on a shelf and layered with other wall decor.
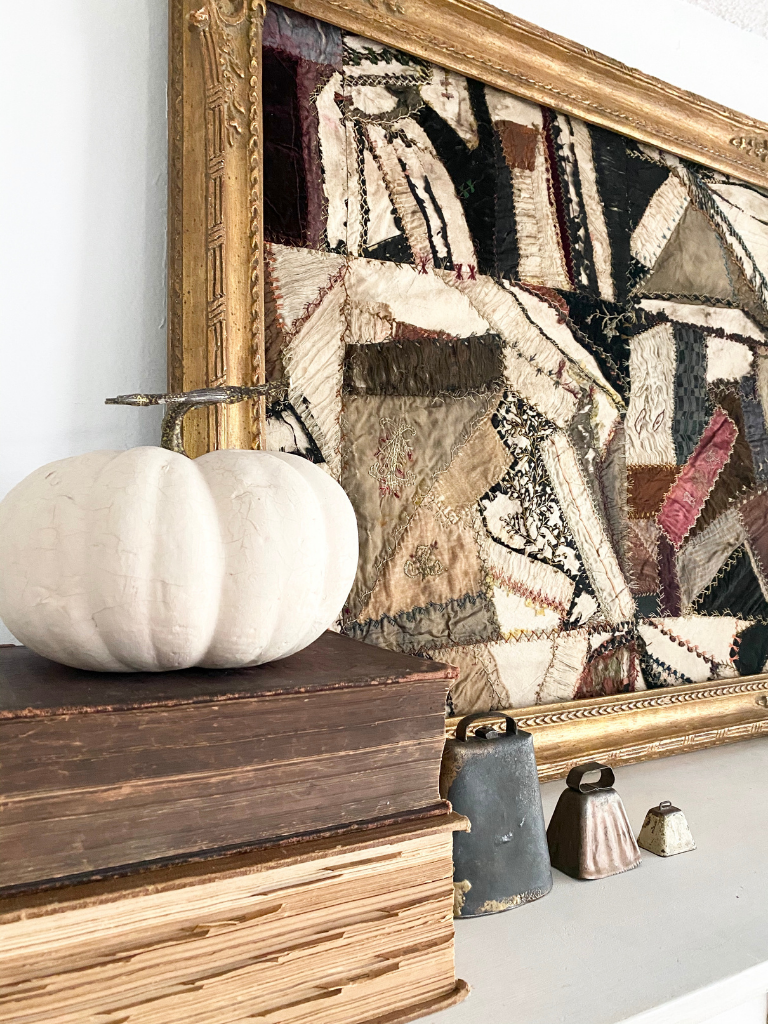
I like to keep my seasonal decor cozy, but minimal, so I added just a few pieces to fill the space around the framed quilt. I started with a vintage pickle jar filled with some branches on one side. On the other side, I placed a pumpkin atop a stack of thick books. For a little more dimension, I added a collection of cow bells in front of the frame. Some vintage sheet music, a floor lamp, and an antique wooden chair completed the look.
If you’re looking for a statement piece to fill a wall in your home, try making an easy DIY framed quilt. You’ll love the coziness it adds to your space!
Watch this easy DIY on YouTube
If you liked this, you might also like
How to make dried orange slices
How to make a simple fall wreath
Pin this for Later
